Planner Tips | Candyland
Stay organized and inspired all month long with inspiration from our Creative Team! The following planner tips are perfect for pairing with this month's "Candyland" Kit, or just tuck them into your back pocket for a time when your creative mojo is low. Either way, we hope they’ll help inspire your next planner spread!
Use the Pattern Builder stamp set to block off days in your planner.

Haley Pettit used the 6x8 Pattern Builder stamp set to add pops of color and pattern throughout her project, Candyland Planner Kit Weekly Writing Spread. By using various shades of similar ink colors, she was able to tie the whole spread together with those stamped blocks.

Stephanie Howell used the Pattern Builder stamp set to section off the unused blocks before and after the month on her project, February Monthly Spread – Big Happy Planner. This is a great way to carry design and color from one page to the next in your spread.
Create sections with wide washi.

Stephanie Howell designed an entire planner spread on a blank Traveler's Notebook page with the sunburst washi from this month's kit on her project, Birthday Themed Weekly Spread TN. The washi not only adds fun pops of color around her pages but also sections off each day for planning.

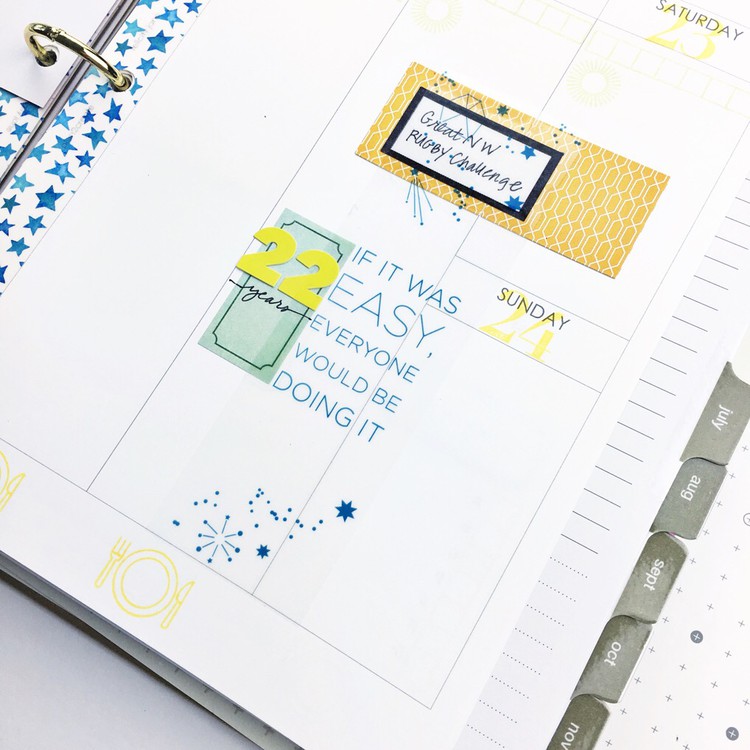
Marie Lottermoser used a strip of wide sunburst washi to separate the right page of her TN spread, February Planner, into two sections. Creating divisions in your planner is a great way to keep lists and to-dos organized.
Set intentions for your week or month with the Fill In stamp set.

Haley Pettit used the Fill In stamp set in three places on her planner spread, Candyland Planner Kit Weekly Spread, to set reminders for herself and a theme for her week. The combinations with this set are endless!

Guest designer, Lindsay Bateman, used the Fill In stamps individually to create a list of reminders for herself on her project, February Main Planner Kit & Add-on. We can always use a reminder to practice gratitude and patience every day!
Focus on what's important with wedge die-cuts.

On her project, Weekly Spread – Classic Happy Planner Vertical, Stephanie Howell used the "Goals" and "Important" wedge die-cuts from the kit to highlight significant items for her month. These embellishments draw your attention in a bold and colorful way!

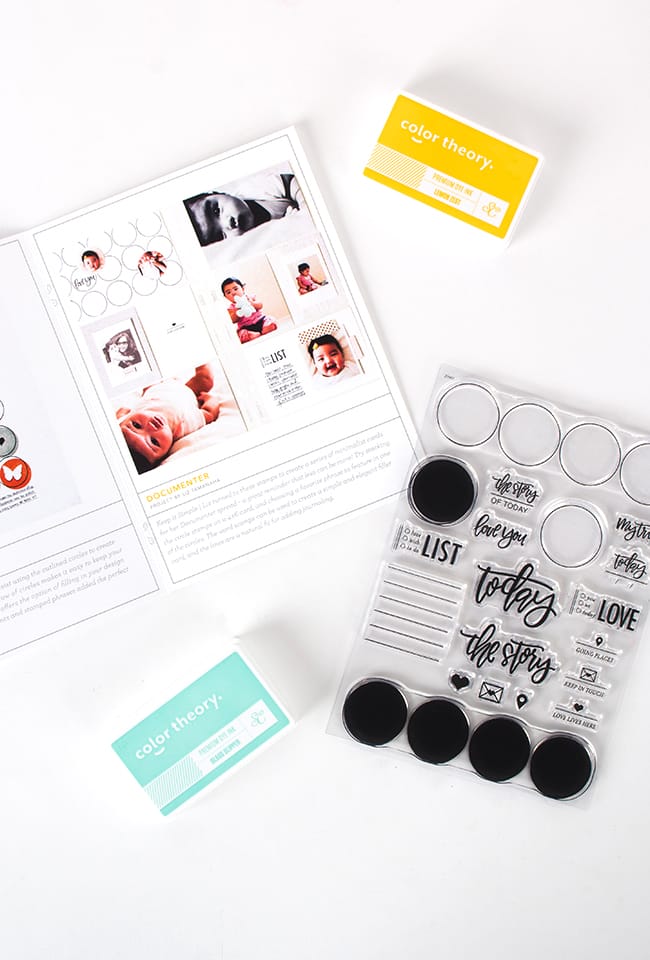
This month's guest designer, Lindsay Bateman, combined her die-cut wedges to form a complete circle on her project, February Main Kit Planner Spread. By having each wedge point to photos of her children, she perfectly highlights what's most important in her life!
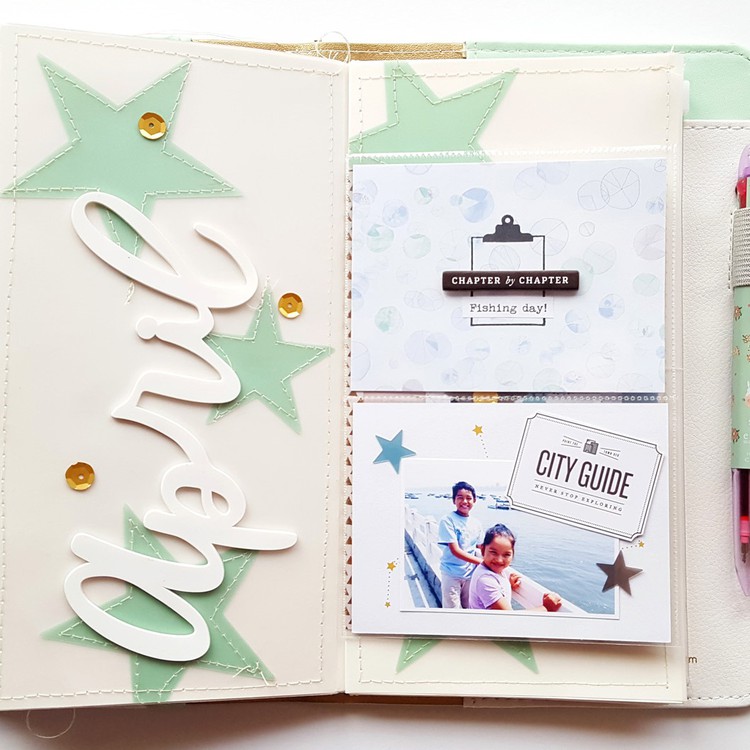
Cut out your embellishments.

April Orr cut out and pieced together various patterned papers to create embellishments for her spread, February Weekly Layout. This technique ensures her stunning project is one-of-a-kind!

Julie Kinneeveauk utilized the "Candyland" printable labels and stickers to create embellishments for her planner spread, Week 9. Using color coordinating elements is a great way to mark repeating tasks.
There's so much you can do with the "Candyland" Planner Kit and February add-ons. Which planner tip do you plan on putting into action this month? Post your creations in the gallery and add a link in the comments. We can't wait to see what you'll make!


.png)
.png)
.png)


Sign in or sign up to comment.
0 comments